DIY Valentine's Day Chocolate Box
/Looking for an affordable, cute valentine’s day gift for friends, co-workers, neighbors or classmates? Look no further! These DIY Valentine’s Day Chocolate Boxes are sure to wow even cupid.
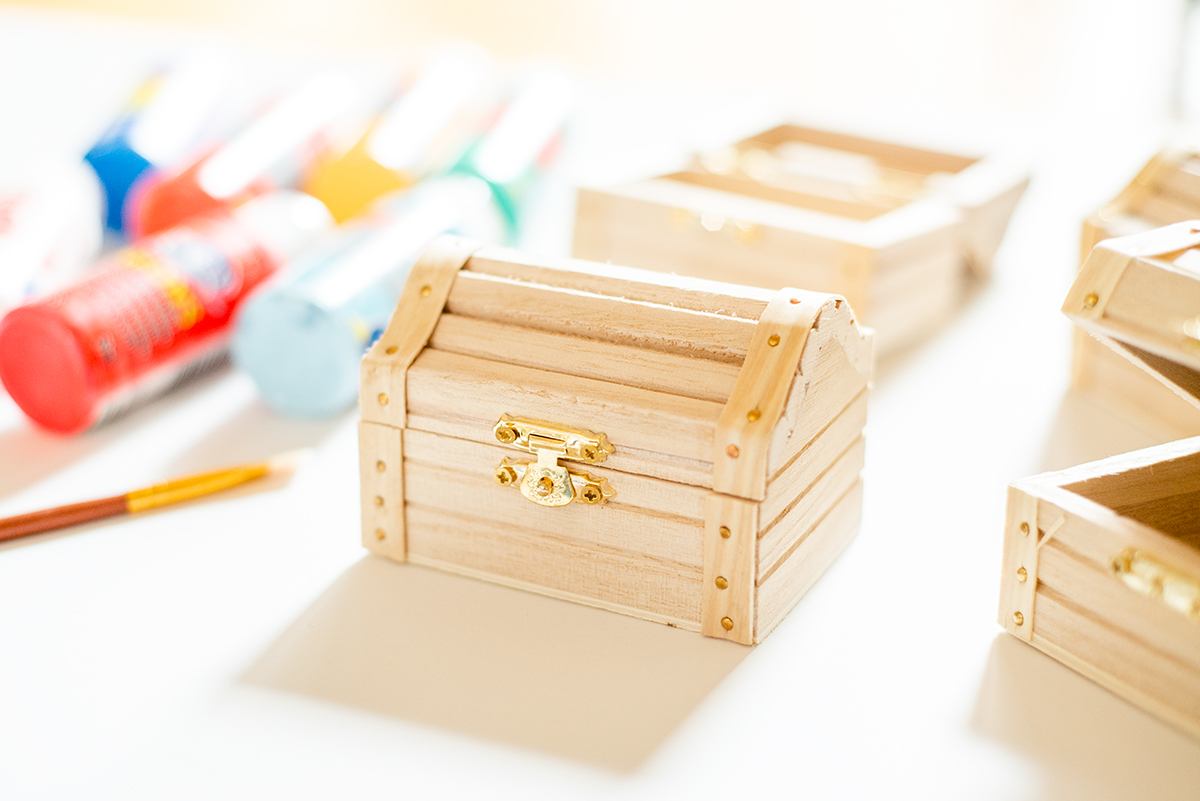
I was strolling through Michaels (which is just as dangerous as going to the grocery store hungry) and found these cute wooden boxes in that ‘dollar’ section right near the registers. I immediately thought they’d be perfect treasure box for little chocolates!
Materials Needed:
Candy Melts (from your local craft or Amazon)
Chocolate Molds or Ice Tray (I got the hearts from our local Christmas Tree shop)
Wax Paper
Optional: Craft Paint, Colored Tissue Paper
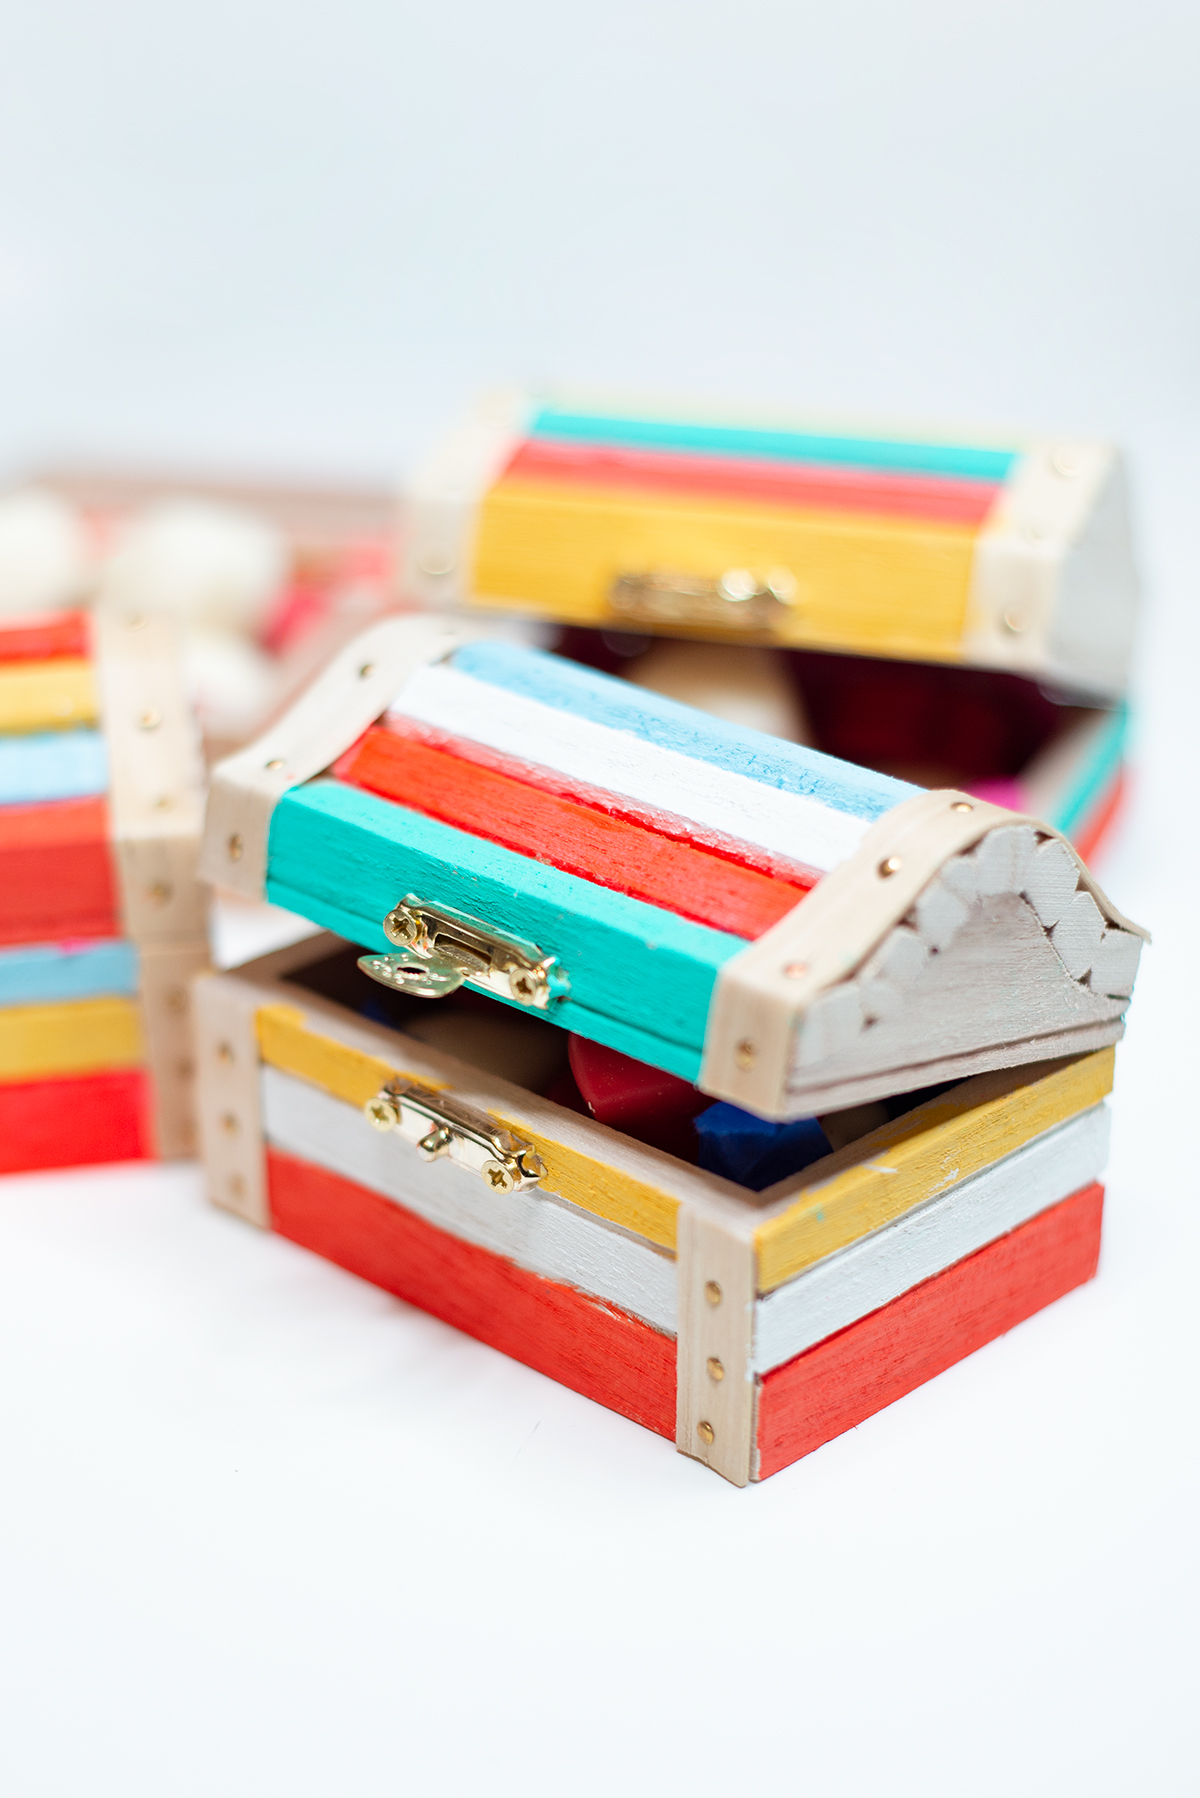
I really love these wooden boxes as they are but for Valentine’s Day I thought it would be fun to paint them a rainbow of colors.
How to Melt Your Chocolate for Molds
If you have a double broiler you can use that. I used a stock pot with a pyrex glass bowl that fits perfectly over it. Fill your pot with water then place the bowl on top. You want the bowl to be in the water but not to overfill when you place it in.
Place your chips in the bowl and turn the heat on high.
Continue to stir the chips until they’re fully melted and smooth.
Spoon the melted chocolate into your molds. It will be messy!
To flatten the bottoms, just take the tray and tap it a few times against the counter to get the chocolate nice and flat.
Pop the try in the freezer for 15-30 minutes until it hardens again. You can test it by just placing your finger on one of the new molds and seeing if it’s solid.
Pop out your molds and voila!
Just add a little colored tissue paper and a tiny piece of wax paper at the bottom and place in your newly shaped chocolates! 💖


