3 Easy Kitchen DIYs & #TBT Apartment Tour
/I’m working on so many fun projects that are coming down the pipeline! In the meantime, I thought I’d throw it WAY back with a few DIYs I did for a past rental kitchen a few years ago. It’s the one that inspired me to start doing rental renos.
This was one of my favorite rentals because it was HUGE and so affordable - only $650/month (+ utilities). SAY WHAT?! A 2nd floor, 3-bedrooms, dining room, kitchen, living room AND a pretty large balcony. It received so much natural light it warmed my soul to the core. I’m the type of person that never closes the curtains or blinds for privacy. I’d much rather have that beautiful sunshine coming in.
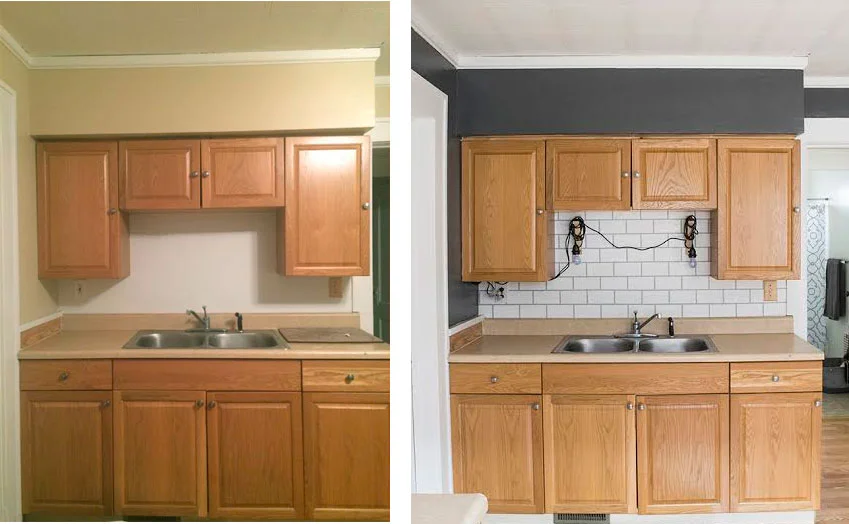
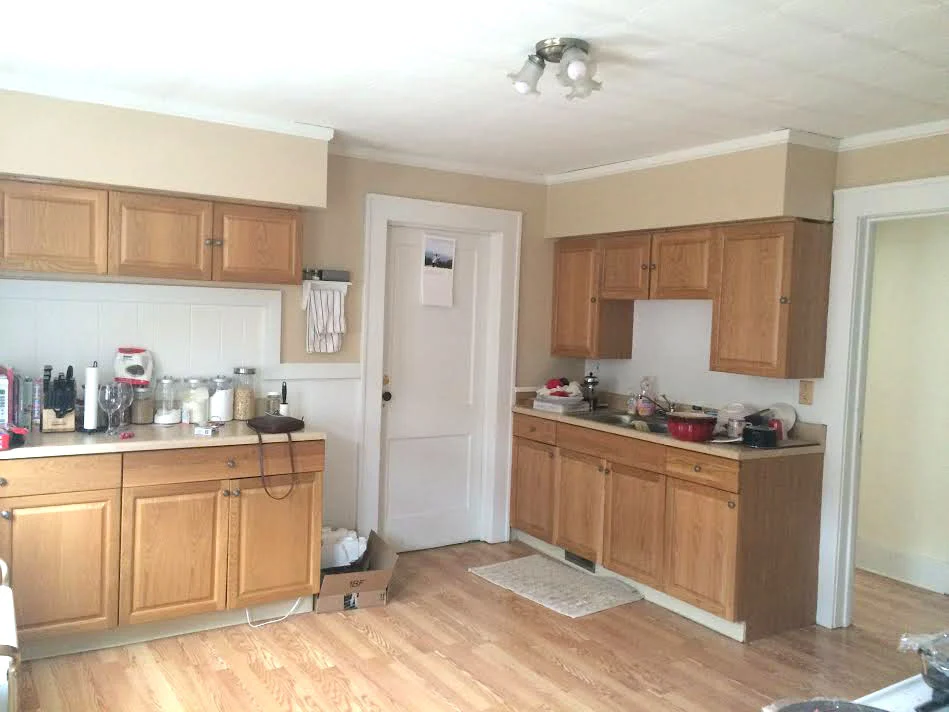
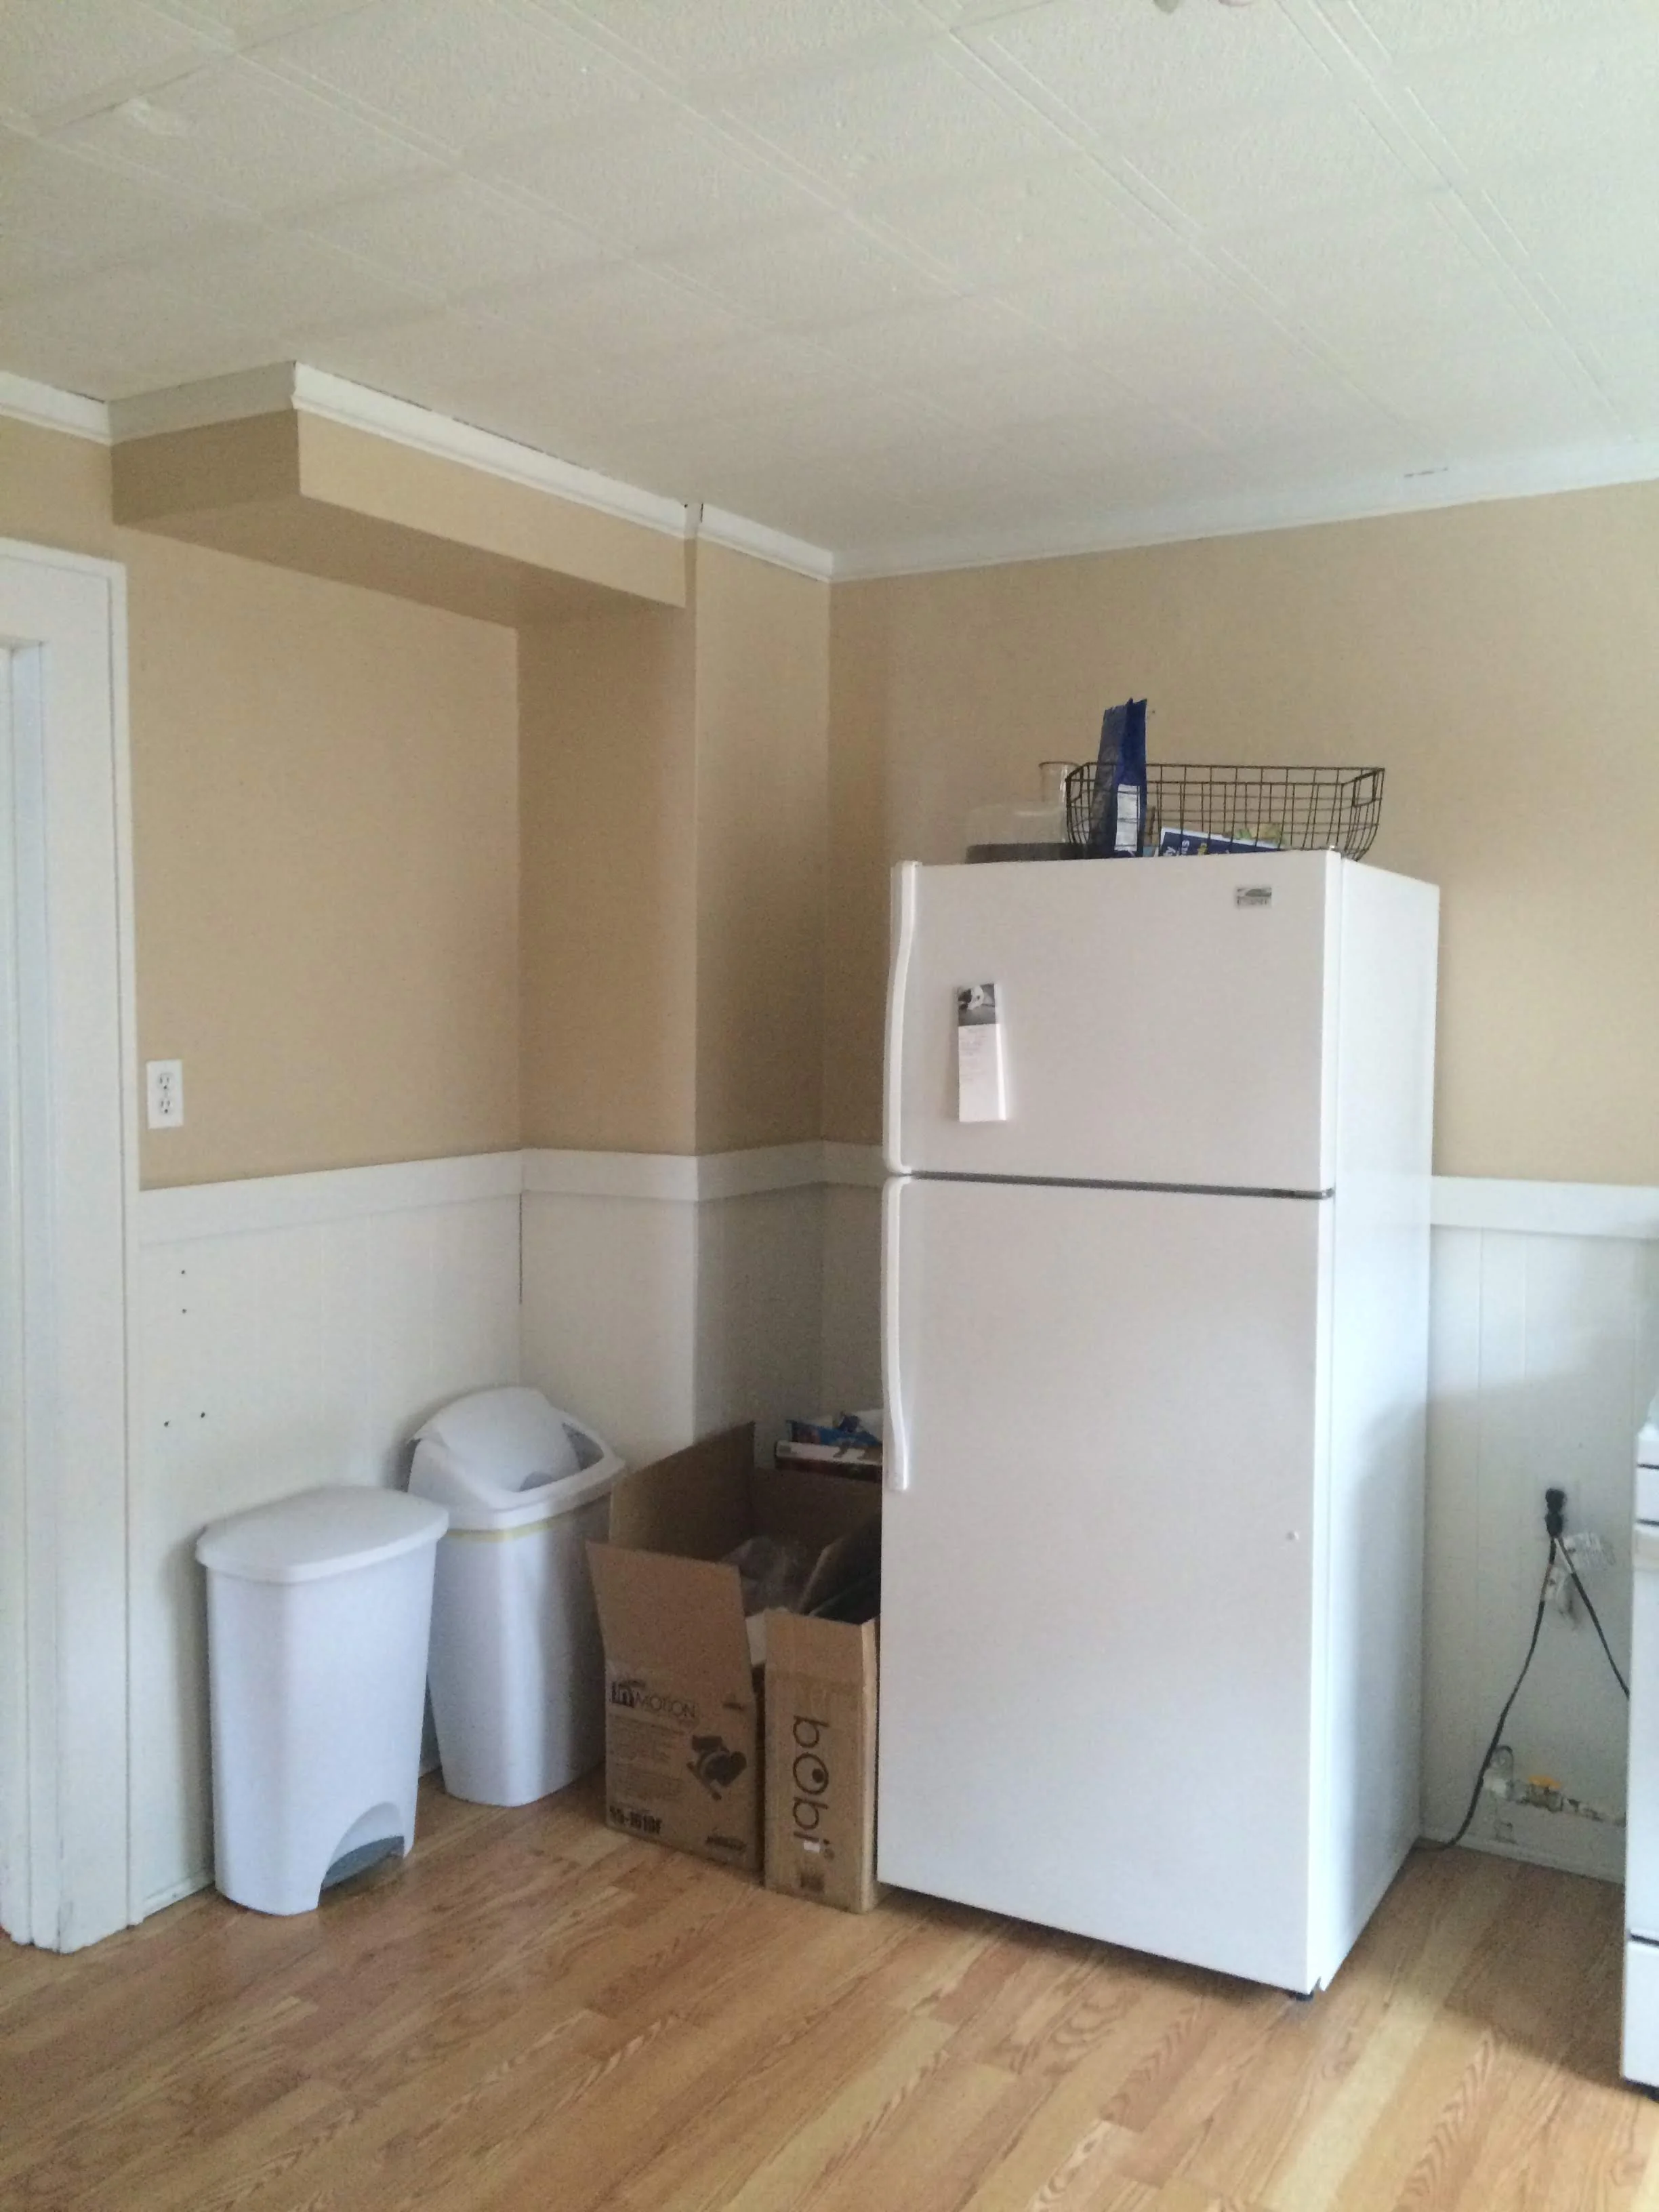
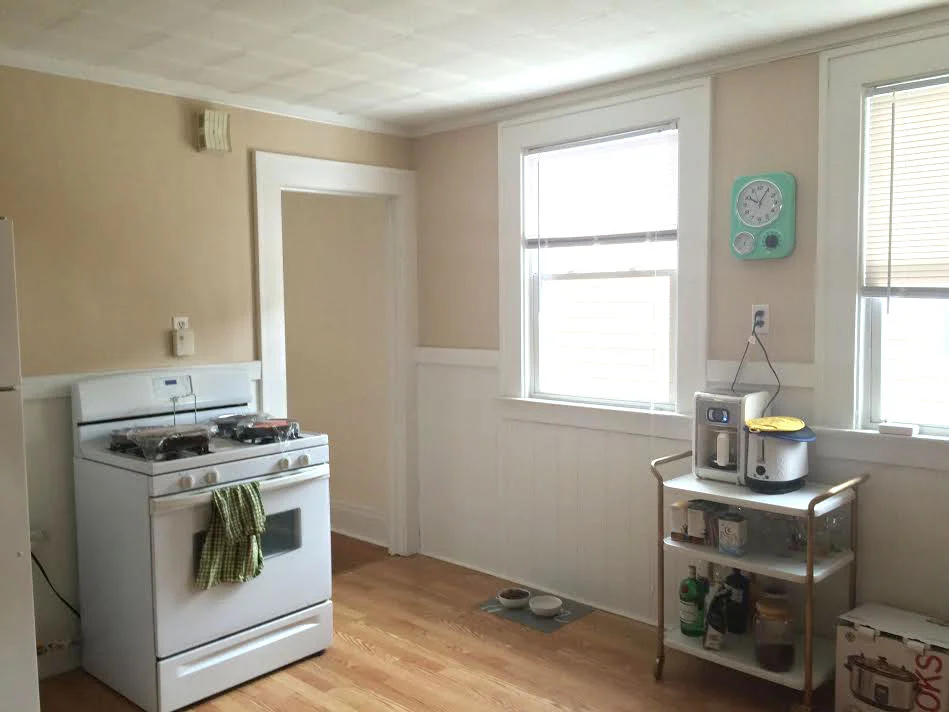
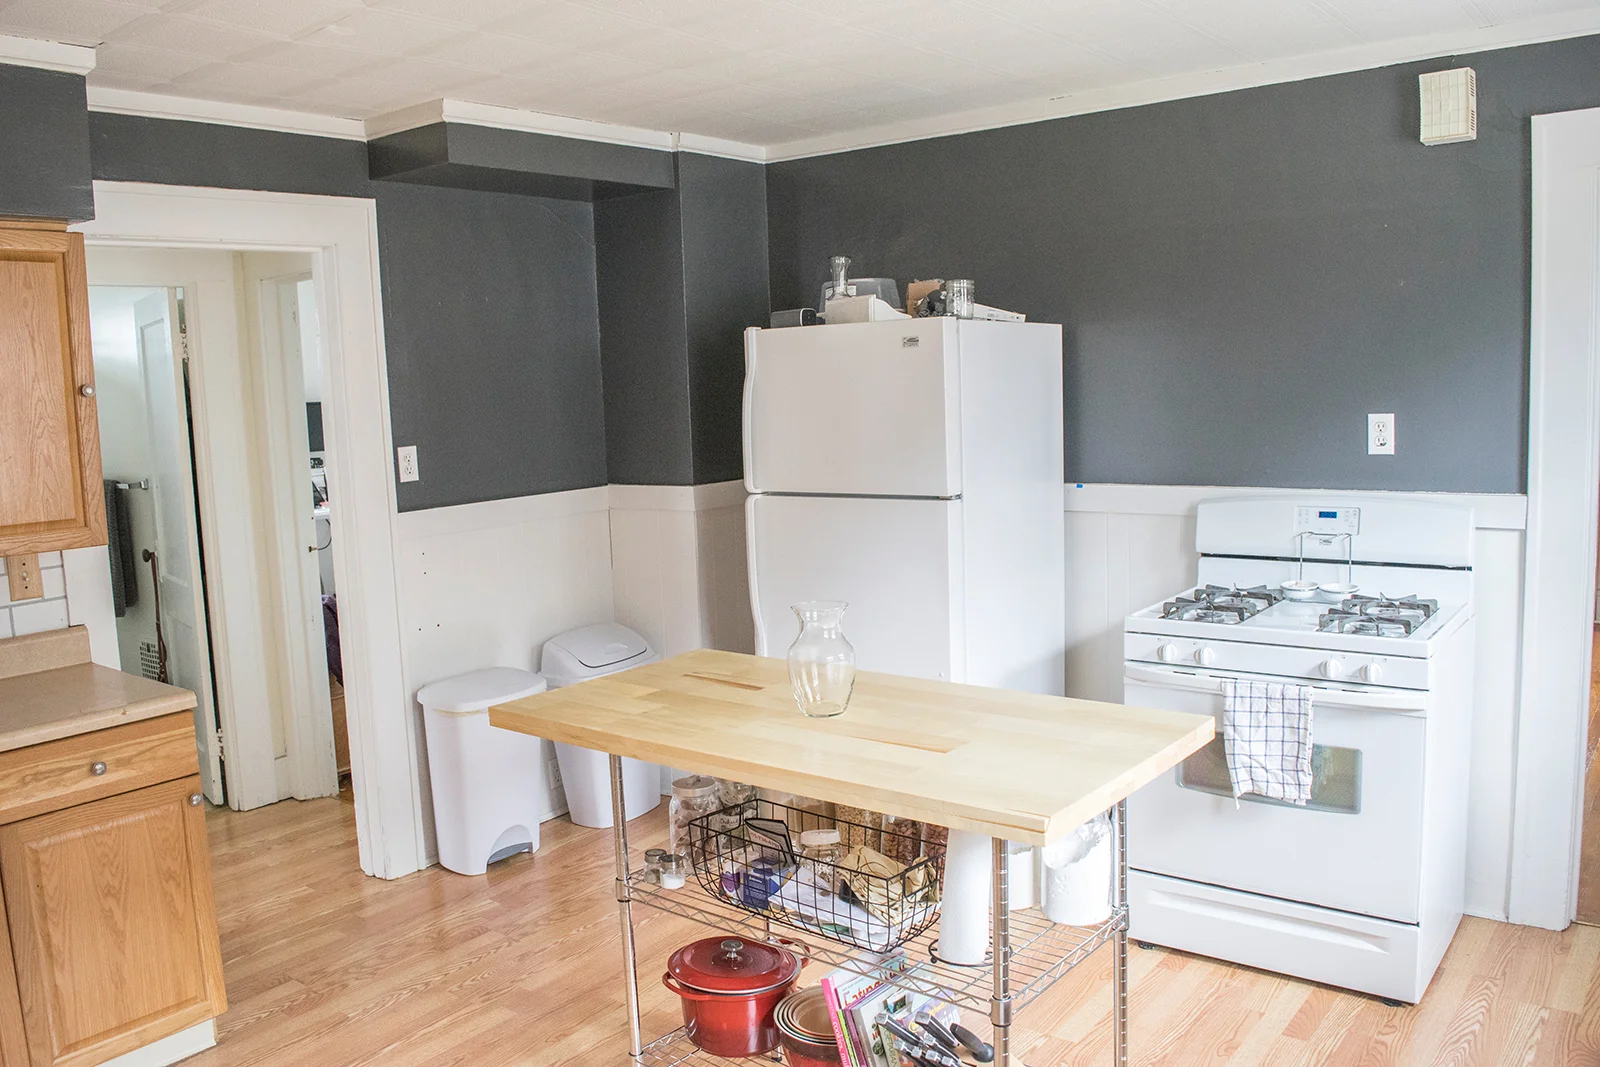
Kitchen Before:
1. Updating the Paint Color
The one major drawback was the builder grade cabinets and beige paint. Everything blended all together like ‘BLAH’. I knew I wanted to the kitchen to wow since it was the first room you entered. I decided to kept the white bottom half and decided to go dark gray for the top for a big statement. I thought this would make the cabinets pop by mixing gray tones and warm ones.
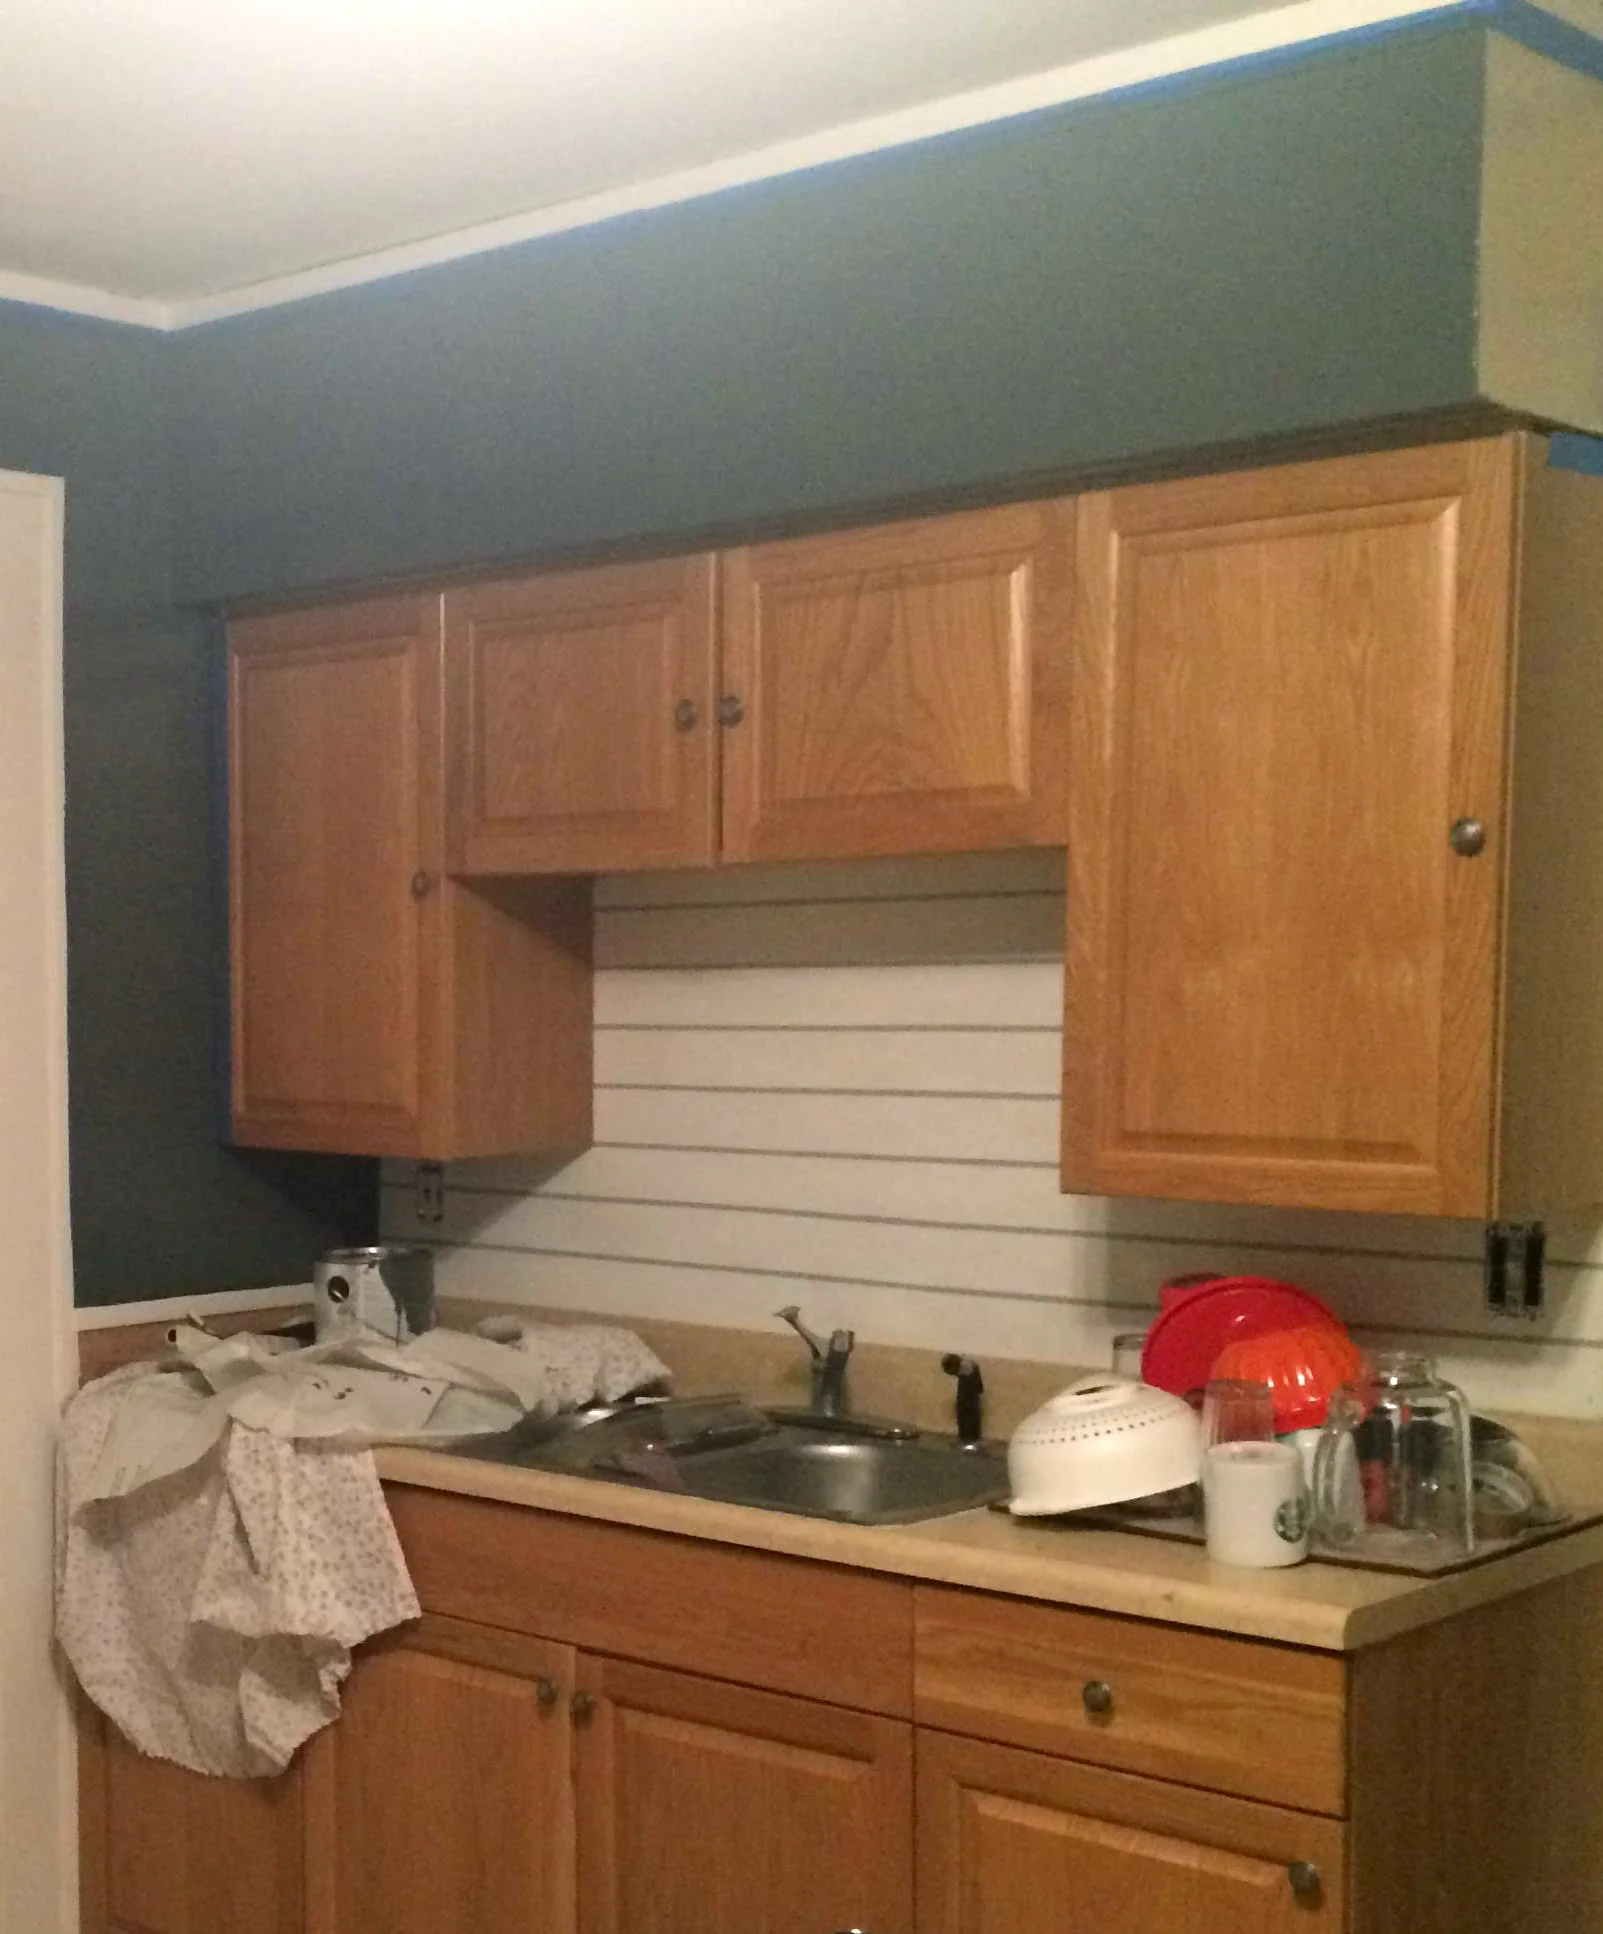
Finding the PERFECT dark gray paint was so hard. I think I tried about 10 different shades before I settled on one from Olympic (I forget the exact one, sorry!). My mother thought I was crazy. (Once she saw the finished room, her exact words were “Okay, you were right, it looks great!” 🤣).
The other downside was that there wasn’t a whole lot of counter space. It was such a huge room, so I knew I wanted to buy or DIY an island of some sort.
Kitchen After:
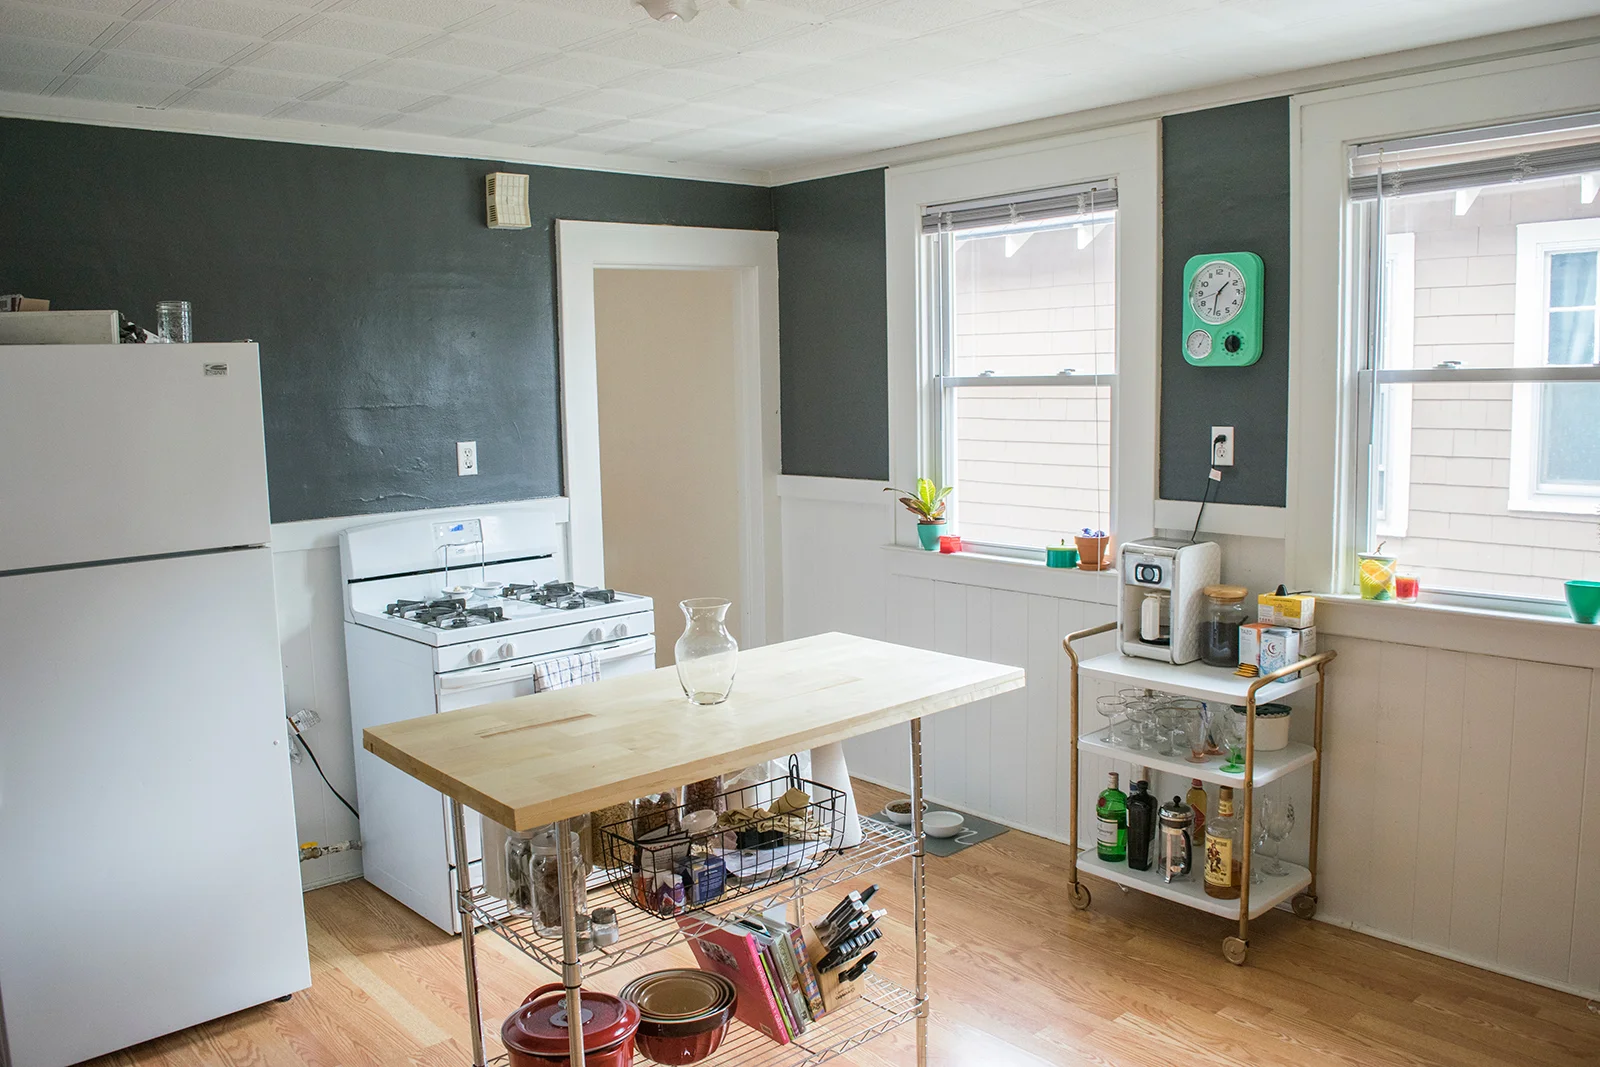
2. DIY Kitchen Island
After much research, I found I wasn’t liking the style, make or cost of kitchen islands you can buy. So, I came up with a way to DIY one. This kitchen island is super easy and costs around the same as the ones you can buy at a department store.
Supplies:
2 wood panels from Lowes (Select what size fits your metal shelves. If you go with a thicker panel you won’t need to glue two together; I couldn’t find a thick one 🙄 )
Wood glue
Clamps
Screws
Fine grade sandpaper
A few strips of Galvanized Hanger Strap; Approx. 4 inch in length (found in the pipe section, it bends super easy to break, but you can cut with metal cutters if you have them)
Directions:
Choose what wood panel you would like your top to be. Place that side face down on the floor and add wood glue to the opposite side, along the whole surface. (You’ll need to prop it on a box or other surface so you can secure clamps on all the sides).
Add the second panel on top and clamp on all edges (This is SOFTwood, so don’t camp too hard or you’ll have an indent in your wood!). Let dry for 24 hours.
Add a coat of the Butcher Block finish to the wood block. Let dry for 2 hours.
Lightly sand the wood block to remove imperfections.
Add a second coat of the finish.
Put your metal shelves together to your desired heights. Leave the top shelf off for now.
Lay your finished wood block on the floor, untreated side up. Add the top metal shelf upside down to the top of your wood block.
In one of the four corners of the top shelf, bend one 4-inch piece of the hanger strap over the one of the metal bars. Secure it to the wood block by adding a screw on either side. Repeat in all four corners.
Put the top tier on the metal shelves! (note this will be heavy, but manageable).
I still have this island today, though no future apartment was as large as this one. I’ve cut down the wood block so it’s much smaller and is the exact size of the shelves now without an overhang. I love that it’s so easy to disassemble and move.
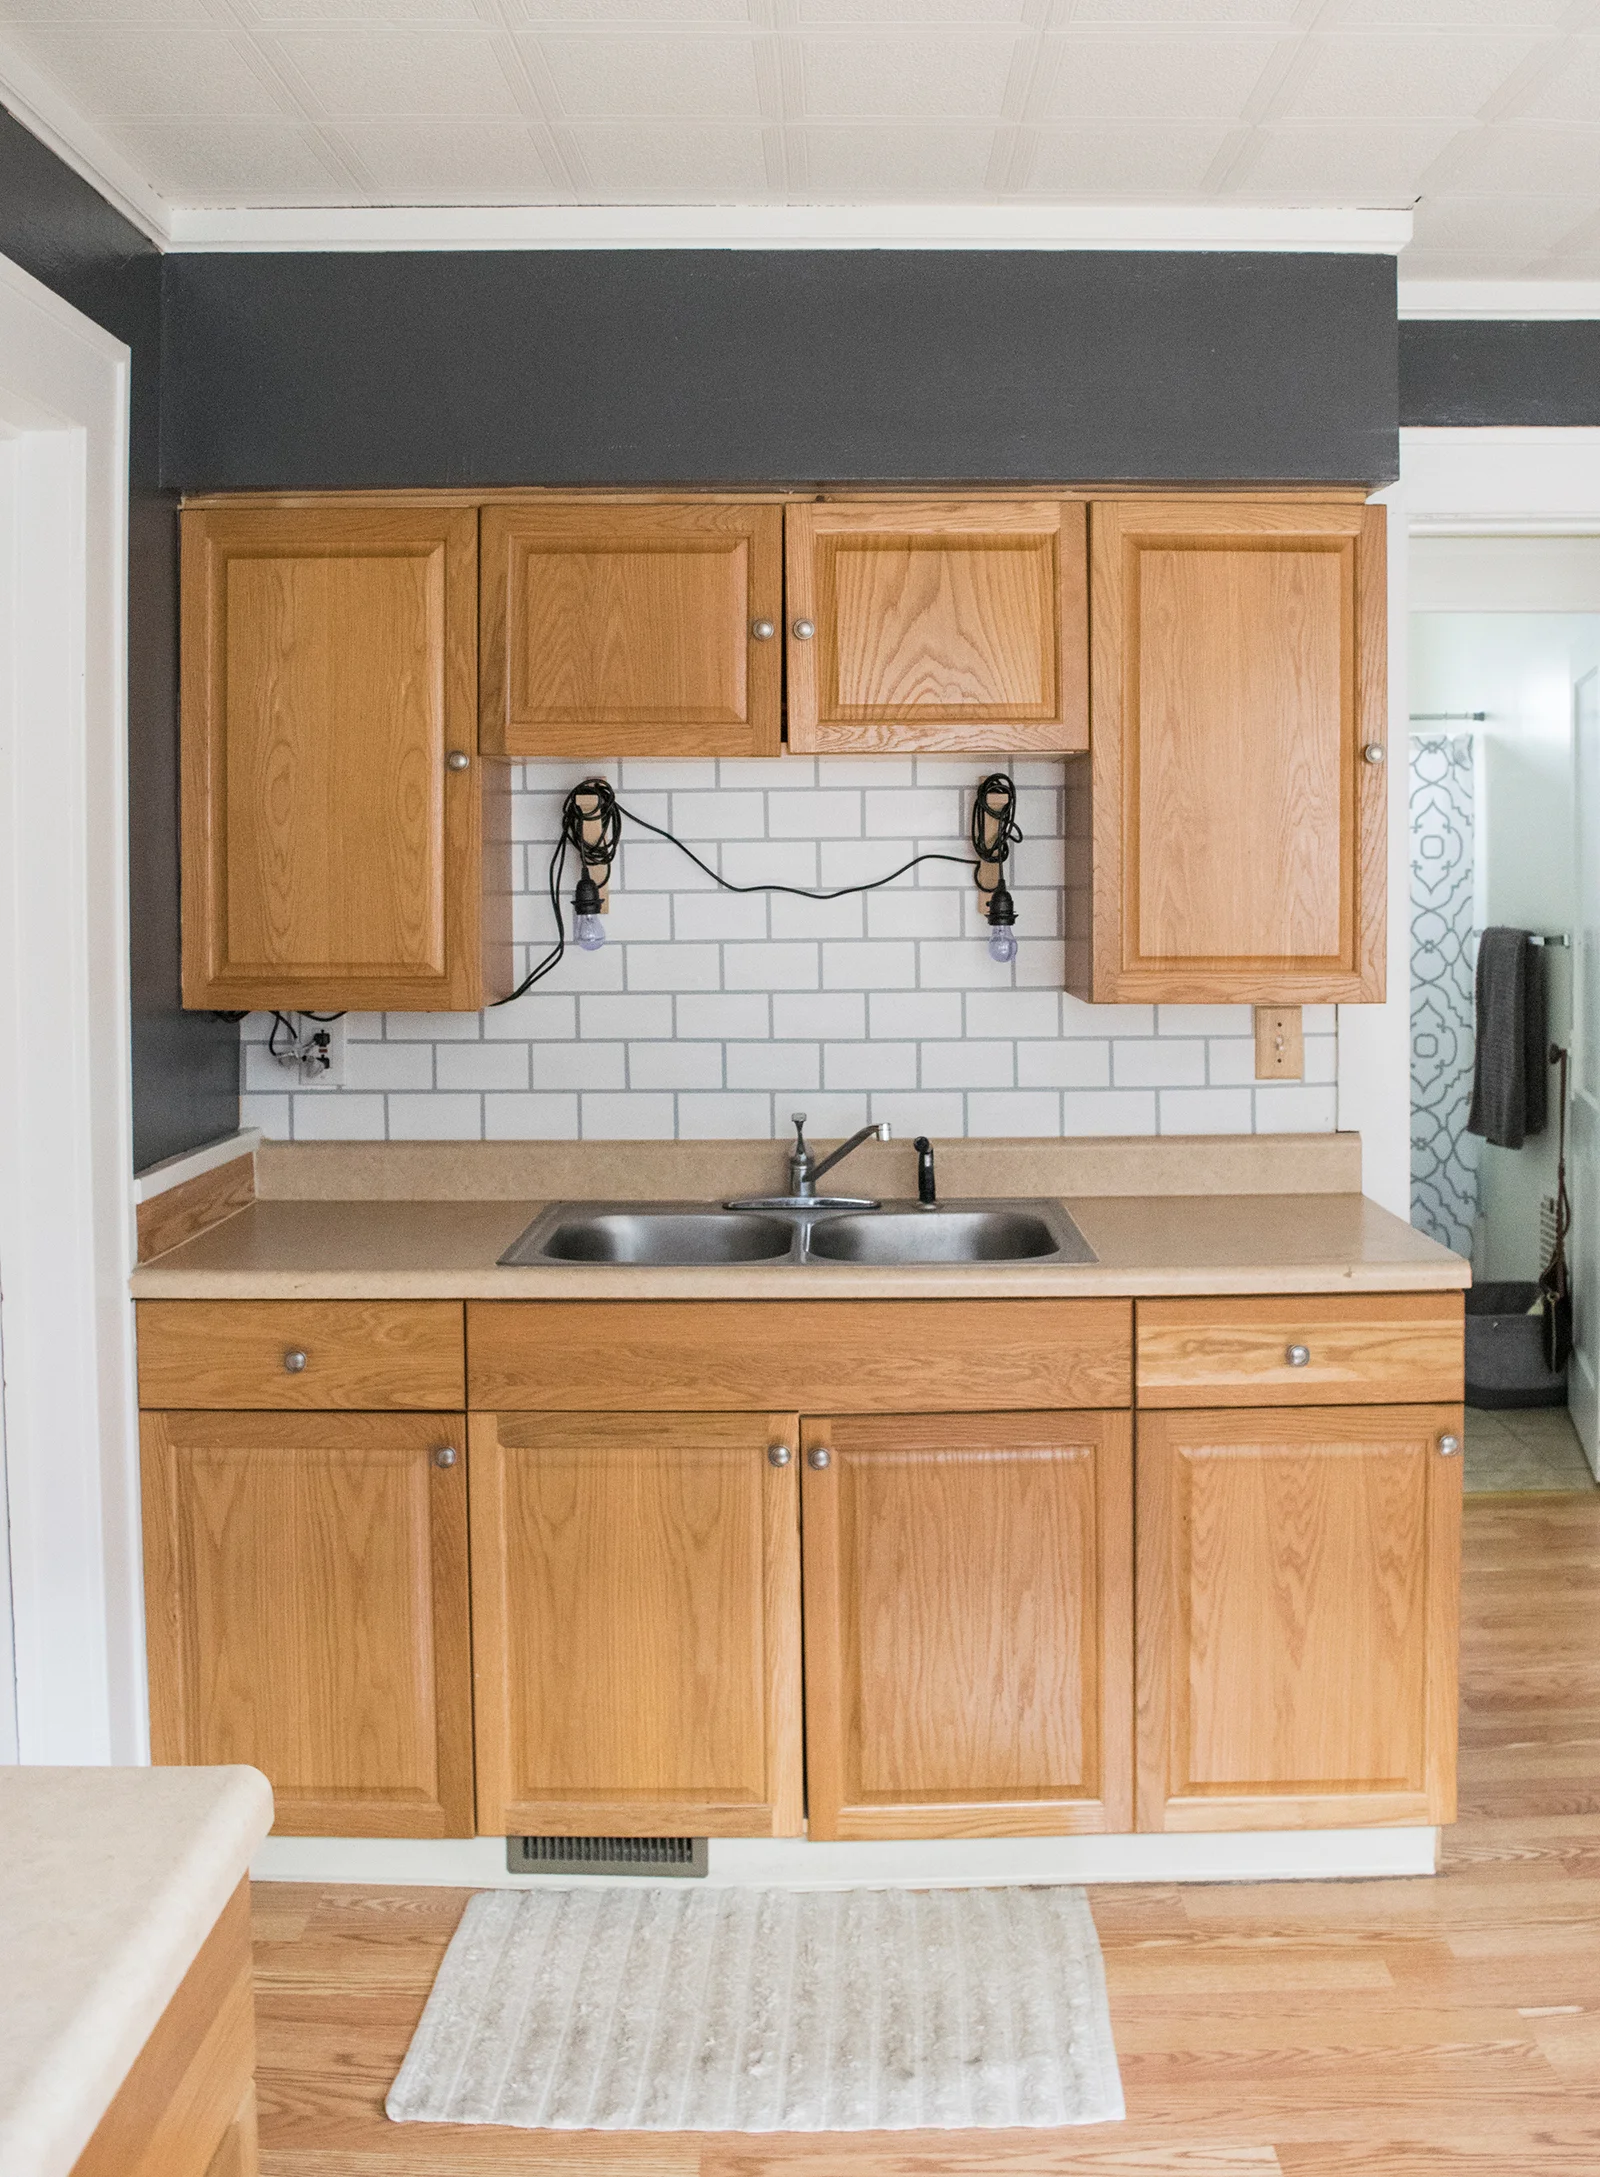
3. DIY Painted Backsplash Tile
I didn’t know how to tile, nor did I want to put that much money into a rental, but I knew I wanted a showstopper for the sink area. I did some digging and heard about others painting a backsplash, so that’s what I did!**
Sorry for the bad photo, I made a rookie mistake and didn’t take photos of the process!
I bought a single subway tile from Home Depot and used it as my starting template. I used painters tape and measured out the spaces, starting with the horizontal lines. Using a small paint brush I panted in the spot between the painter's tape.
Once that dried, I added painters tape for each of the vertical lines and painted those.
Pro Tip: Make sure you stick that painters tape fully to the wall or the paint will bleed. I learned my lesson the hard way and had to touch up a bunch with white paint.
**While I loved the outcome of this look, the process was very tedious and time consuming. The next project where I painted a tile pattern I went with a paint pen and skipped the painters tape to save time.
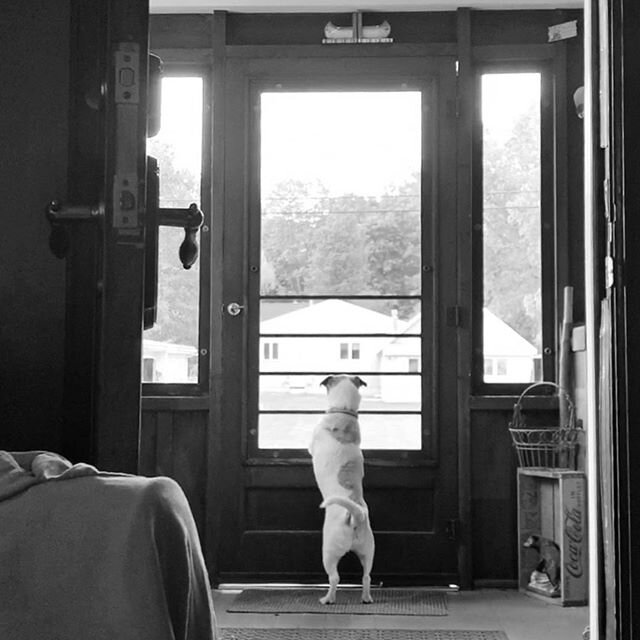
Apartment Tour:

Dinning Room Looking into Living Room


Living Room

Photography Studio/Craft Space (Bedroom 1)
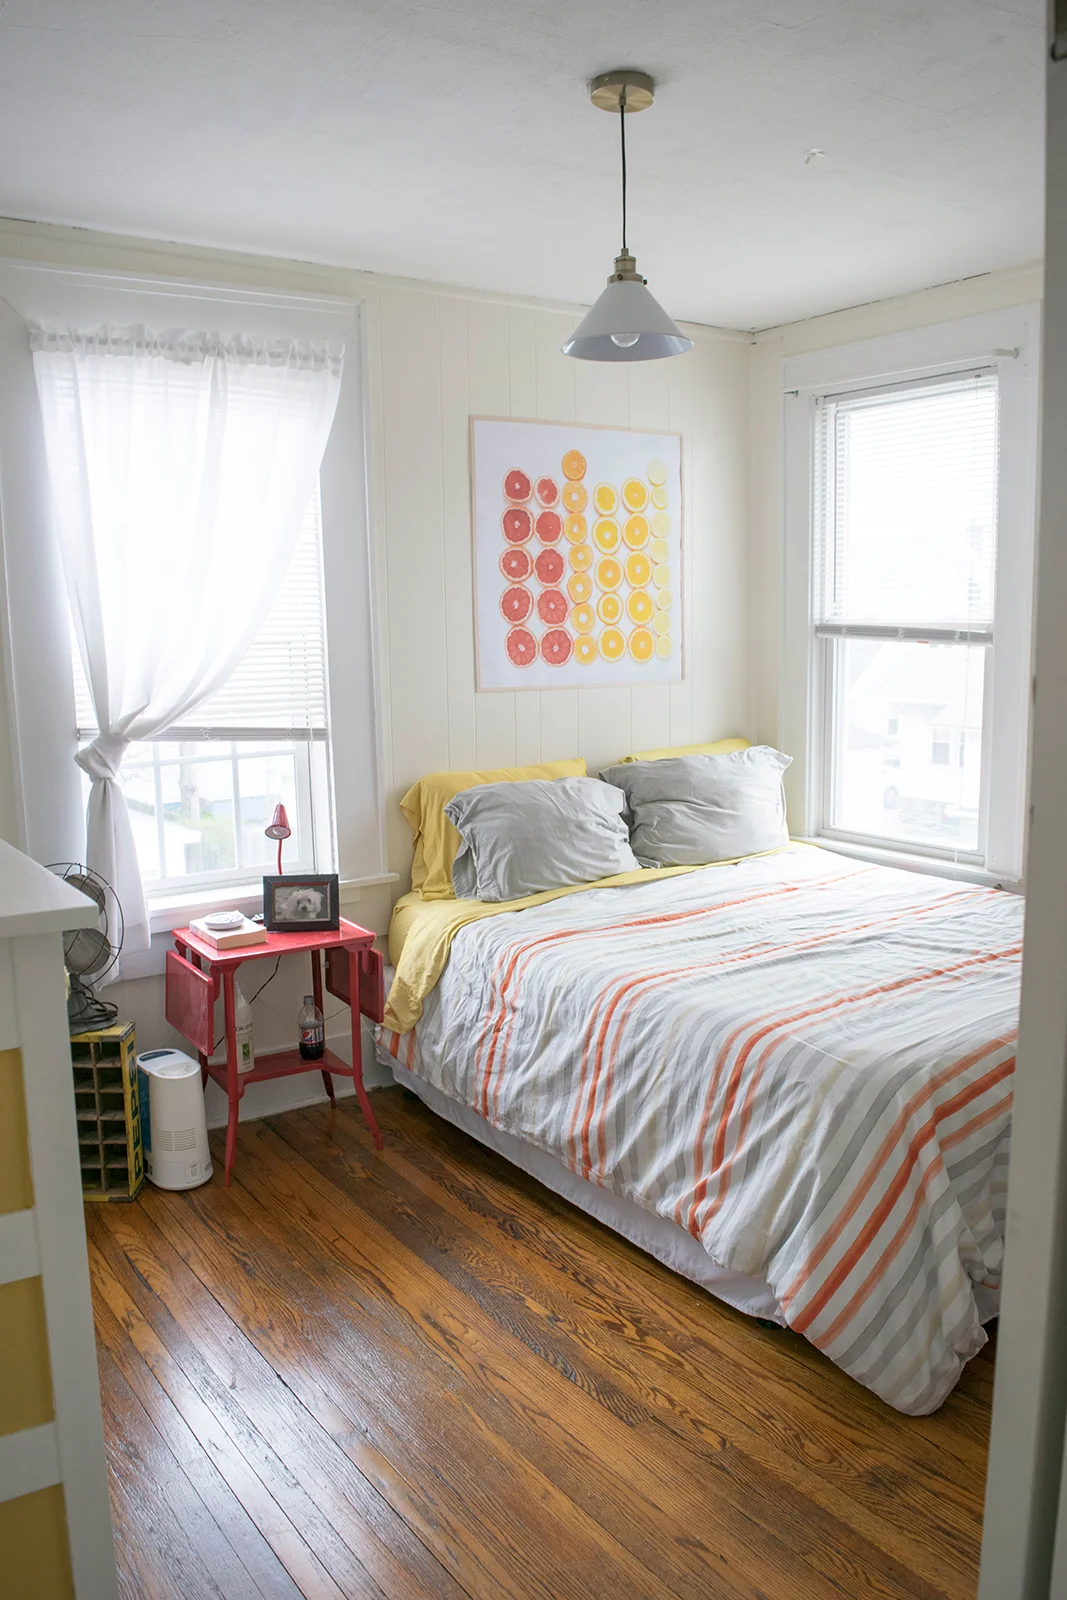
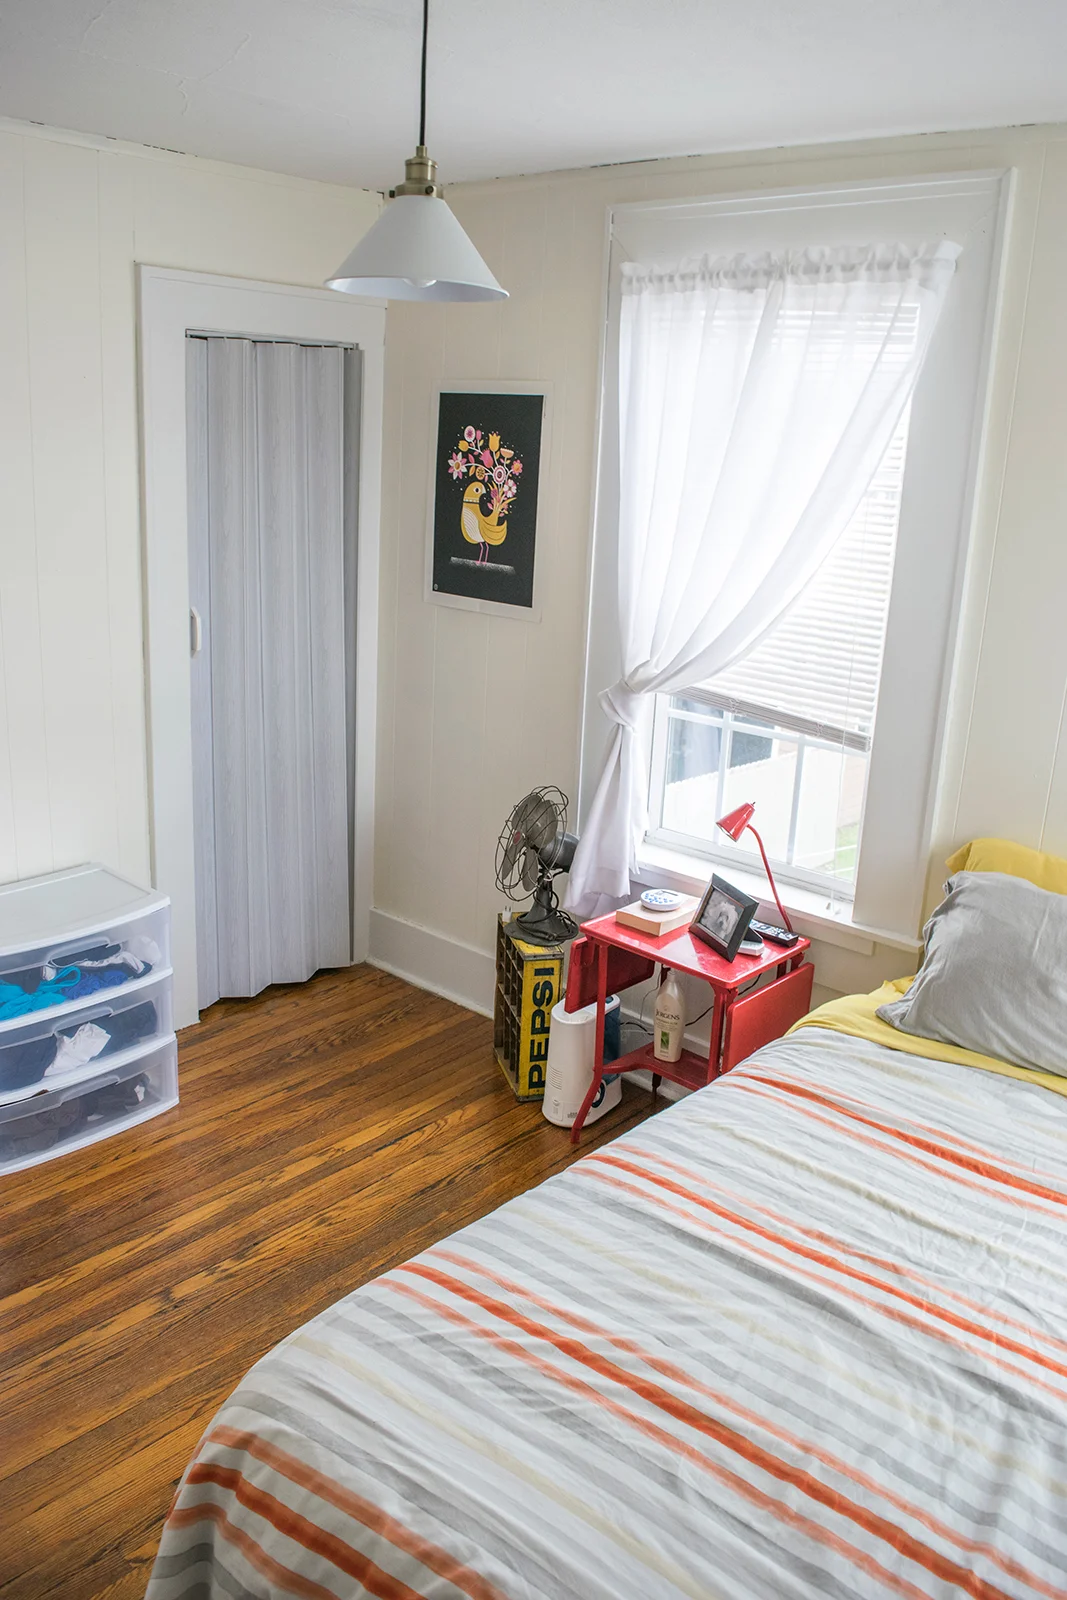
Bedroom

I worked remotely at the this time so I had a dedicated office, complete with a standing desk and mini elliptical! (Bedroom 3)