A DIY Rental Kitchen Update on a Budget
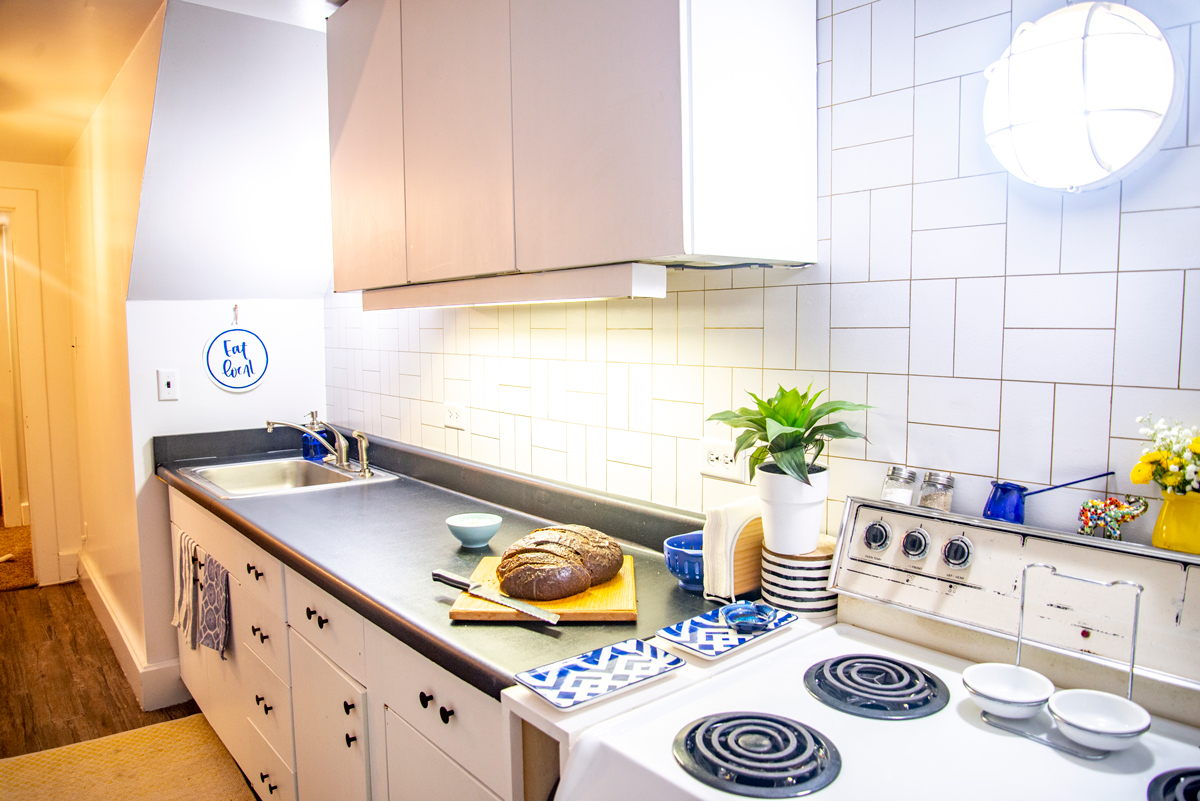
/Rentals can definitely have their ups and downs. You have the freedom from home ownership and all the cost associated with that. But on the other side you’re stuck with what the rental has to offer. I spent just under $300 on this transformation and I'm quite happy with the results.
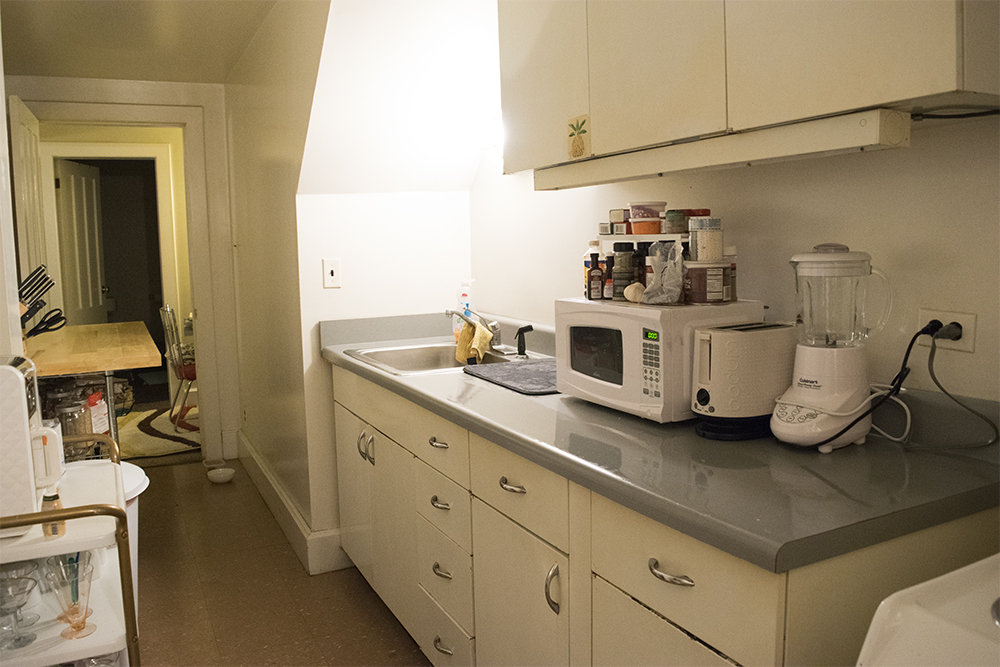
I moved into this garden (basement) apartment two years ago and really lucked out with renters that really left me do anything. The kitchen was lacking some serious updates, (see the before photos here) but with a small budget and some TLC, it’s really become a showpiece I’m proud of!
Lighting
Since the kitchen didn’t get any natural light the first thing I did was replace all the lightbulbs with daylight bulbs. When your main source of light is artificial using daylight bulbs vs. standard yellow ones can make a world of difference and is very affordable.
I also got a plug-in pendant light to help with the section of the kitchen that's really dark and had no lighting.
Cabinets & Countertop
Let’s talk contact paper. This stuff is the bomb-diggity. You can literally use it on ANYTHING. Let’s talk cabinets. This kitchen doesn’t have a ventilation fan over the stove so anytime someone cooks, the grease, fumes, etc. just go into the air. This has really yellowed the cabinets over the year. They’re metal cabinets and I love the flat surface look. I knew immediately I wanted to cover them with white contact paper. You can see the difference in color below.
Then, I found some really affordable black knobs to swap out the rusting silver ones. BAM. They look like a whole new cabinet system!
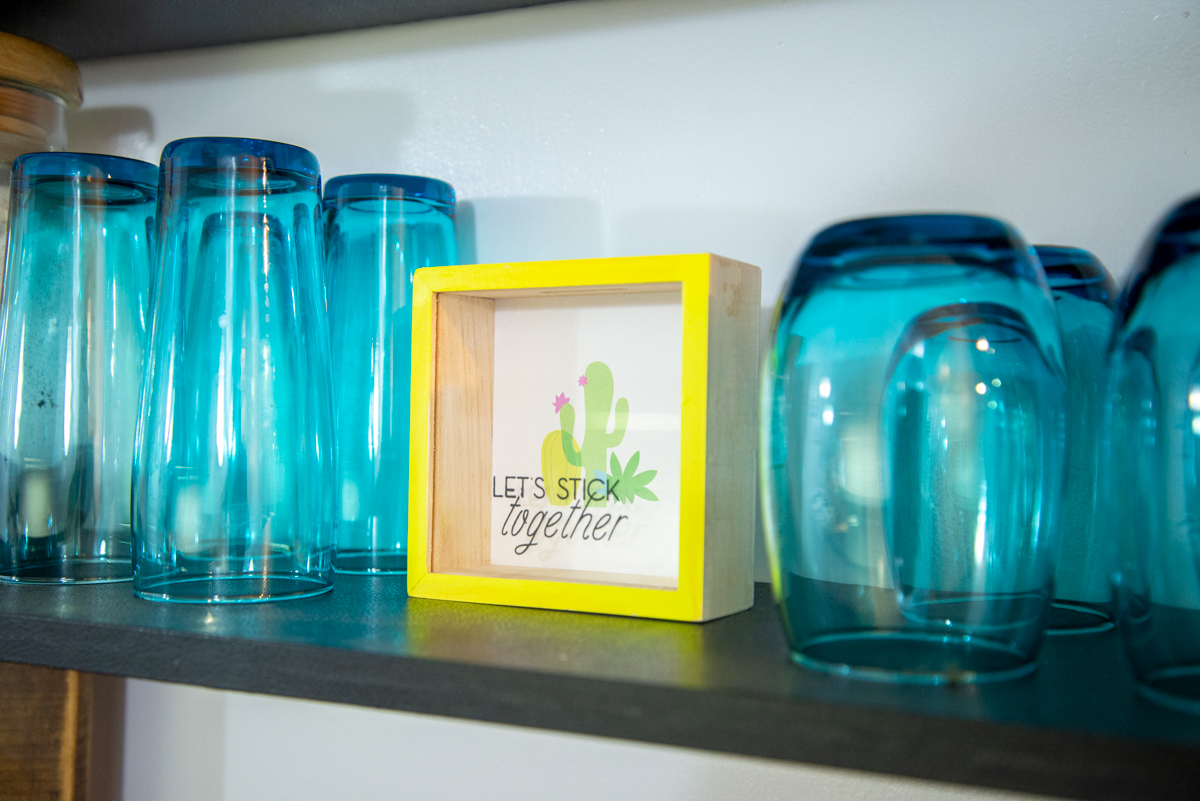
The counter was this blue Formica with obvious signs of use over the years. I found this thicker texture black contact paper from my local home depot and used this tutorial on how to apply it. I also covered the shelves in black contact paper to really bring the black and white cohesive vibe home.
Flooring
These three things alone made a world of difference. However, the flooring was really bugging me. A rug just wasn’t making me love it – with pieces missing and the overall color and dated look. So, I did some research at Home Depot and found a very affordable peel and stick vinyl floor that looked like wood. I asked my landlord for permission and after one long weekend, I had a beautiful floor!
Paint & Backsplash
The last big bucket piece item for me was the walls. Remember when I said there was no vent for the stove? Well, the walls are where this was most evident. They were originally white but could see the grease stains over the years. So, I covered the walls and ceiling with a fresh coat of bright white paint.
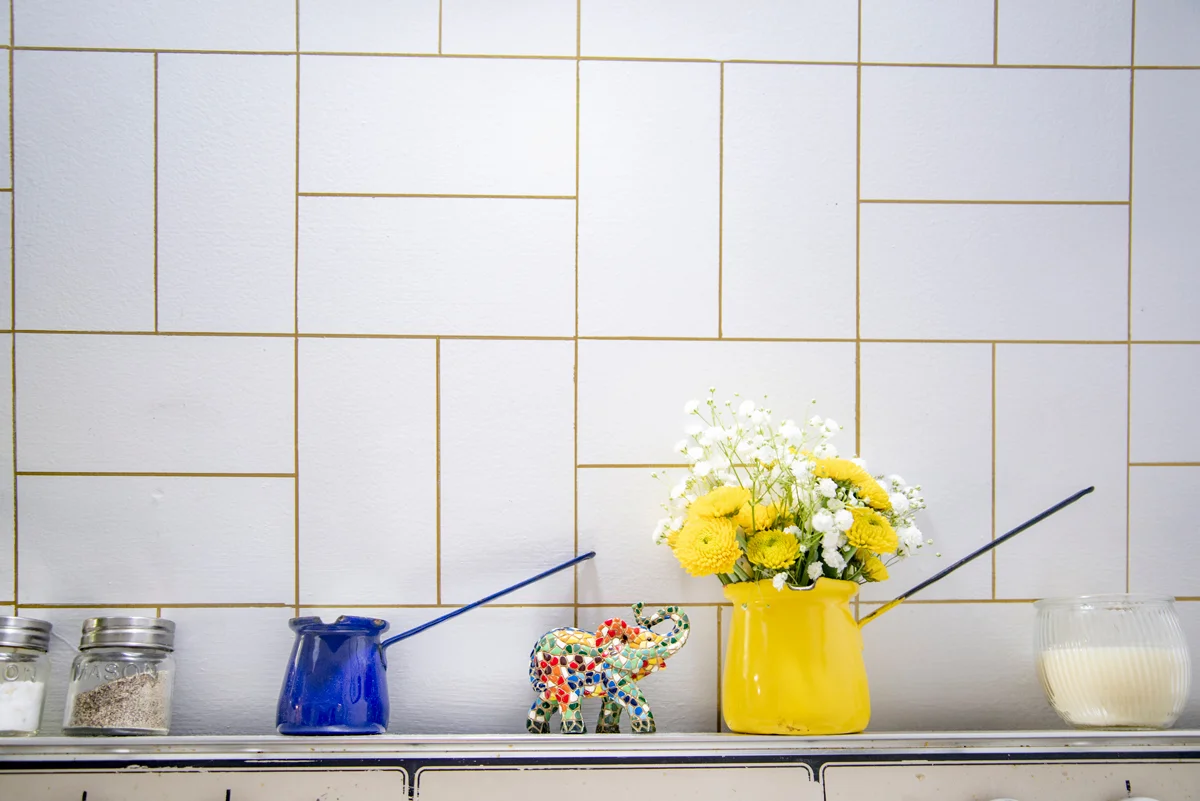
The last idea was a custom backsplash. I saw this tutorial for a hand-painted tile and knew I wanted to try it out. Over the course of a few weeks, I knocked it out. It was very time-consuming but totally worth it in the end.
Total Costs:
$20 – Light Bulbs from Home Depot
$80 – Flooring from Home Depot
$15 – Sharpie Paint Pens from Amazon & Home Depot
$5 – Ruler & Template Tile from Home Depot
$40 – Contact shelving paper from Amazon
$15 – Cabinet hardware from Home Depot
$0 – Light – ($35 from Urban Outfitters but the globe came broken, so they refunded me)
$100 – Storage Cart from Target
$20 – Paint from Home Depot
$0 – Curtains (already had)
Grand Total: $295
Some people think I'm nuts to spend so much on a rental. But to me, it's totally worth it. I want to love where I live rather than dread that walk home from work, to a space you don't want to be in.
Now that I’m finally happy with the look, alas I move to a new place. BUT more fixer-upper projects in the future!

